
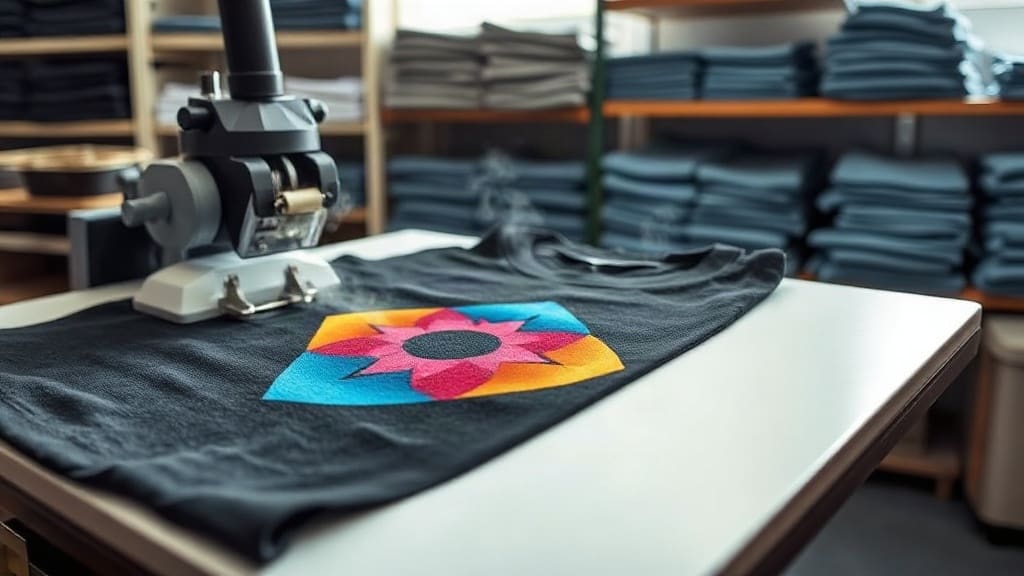
DTF transfers have taken the custom printing world by storm, offering a versatile and cost-effective solution for creating vibrant designs on various fabrics. Whether you're a small business owner looking to expand your product line or a hobbyist exploring new techniques, understanding this technology can open doors to endless creativity. In this guide, we'll break down what DTF transfers are, how they differ from other methods, and how you can use them to produce professional results every time.
What Are DTF Transfers?
DTF stands for Direct to Film. It's a printing method where a design is printed onto a special PET film, coated with adhesive powder, and then heat-pressed onto a substrate, typically fabric. Unlike traditional screen printing or heat transfer vinyl, DTF allows for high-detail, full-color designs without the need for weeding or separate color screens.
How Does DTF Printing Work?
The process starts with printing your design onto a clear or white PET film using a DTF printer equipped with specialized inks. After printing, a hot-melt adhesive powder is applied to the wet ink. The film is then heated to cure the adhesive, leaving it ready for transfer. To apply, you place the film onto your garment, apply heat and pressure with a heat press, and then peel away the film. The result is a soft, stretchy, and durable print that feels part of the fabric.
DTF vs. Other Methods
When comparing DTF transfers to other popular printing methods like screen printing, DTG (Direct to Garment), and vinyl, several advantages stand out.
DTF vs. Screen Printing
Screen printing requires significant setup, with each color needing its own screen. For small runs or designs with many colors, costs escalate quickly. DTF eliminates setup, making it ideal for on-demand printing and custom orders. Additionally, DTF prints can be more detailed and vibrant, especially for photographic images.
DTF vs. DTG
DTG prints directly onto the garment and is excellent for soft hands, but it requires a pre-treatment on cotton and is slower for bulk orders. DTF prints on film first, so you can print multiple transfers at once and apply them later. This flexibility is perfect for selling pre-made transfers or printing on various fabric types, including polyester, blends, and cotton.
DTF vs. Heat Transfer Vinyl
HTV is great for simple, solid-color designs but struggles with complex graphics. Weeding is time-consuming, and layered colors are tricky. DTF handles full-color, gradient, and photo-quality prints effortlessly, and there's no weeding required, saving hours of labor.
Benefits of Using DTF Transfers
Why are DTF transfers gaining so much popularity? Here are some key benefits:
- Vibrant Colors: DTF prints are known for their high opacity and vivid colors, even on dark fabrics.
- Durability: Prints can withstand repeated washing and stretching without cracking or fading.
- Soft Hand Feel: Unlike thick vinyl layers, DTF prints are thin and flexible, maintaining the fabric's natural drape.
- Versatility: Works on cotton, polyester, nylon, leather, and blends, making it suitable for various products like t-shirts, hoodies, bags, and even shoes.
- Cost-Effective for Small Runs: No minimum order requirements, so you can print one-off items or test designs without breaking the bank.
- Quick Turnaround: Printing and applying can be done in minutes, perfect for last-minute orders.
How to Use DTF Transfers at Home or in Business
Whether you're just starting or scaling up, using DTF transfers is straightforward. Here's a step-by-step guide to get you started.
Step 1: Choose Your Equipment
You'll need a DTF printer (many conversion kits are available for existing eco-solvent or resin printers), PET film, DTF powder, and a heat press. If you're just trying out, you can also purchase ready-made DTF transfers and simply heat press them.
Step 2: Print Your Design
Use a design software like Photoshop or Illustrator to create your artwork. Remember to mirror your image before printing, as you'll be peeling the film after transfer. Print onto the film with the correct color settings, ensuring your ink layers are sufficient for vibrant results.
Step 3: Apply Adhesive Powder
While the ink is still wet, shake a generous amount of adhesive powder over the printed area. Make sure it covers all the ink entirely. Remove excess powder by shaking off, being gentle to avoid smudging. Then cure the powder using a heat source, like a heat press or oven, until it melts and becomes sticky.
Step 4: Press onto Garment
Preheat your garment to remove wrinkles and moisture. Place the film onto the desired area, with the powder side facing the fabric. Press at around 160-180°C (320-356°F) for 15-20 seconds, applying firm pressure. Let it cool for a few seconds, then peel the film slowly. Your design should transfer completely.
Step 5: Post-Press
For extra durability, you can do a quick press with a silicone sheet or parchment paper to ensure the adhesive is fully set. This step is optional but recommended for heavy-wash items.
Tips for Getting the Best Results
To achieve professional-looking DTF transfers, consider these expert tips:
- Test on Scrap Fabric: Always do a test print on a sample piece to check color, placement, and pressing time.
- Use High-Quality Inks: Invest in DTF-specific inks that are compatible with your printer. Cheap inks can lead to poor adhesion and fading.
- Control Humidity: Powder application is easier in low humidity environments. If it's humid, use a dehumidifier in your workspace.
- Adjust Pressure and Temperature: Different fabrics require different settings. For instance, polyester needs lower heat to prevent scorching, while cotton can handle higher.
- Keep Films Flat: Store unused films in a cool, dry place to prevent curling or contamination.
- Pre-Press Dark Fabrics: For dark garments, a pre-press helps remove moisture and ensures better adhesion.
Common Mistakes to Avoid
Even experienced printers can run into issues. Here are some pitfalls to watch out for:
- Not Mirroring the Image: If you don't mirror, your text will appear reversed on the final product.
- Insufficient Powder: Sparse powder leads to incomplete adhesion, causing parts of the design to peel off.
- Over-Pressing: Too much heat or time can scorch the fabric or cause the adhesive to bleed out, ruining the design.
- Skipping Pre-Press: Moisture in the fabric can cause bubbles or poor adhesion. Always pre-press.
- Using Low-Resolution Images: DTF can capture fine details, but only if your source image is high-resolution (300 DPI or higher).
Applications and Creative Ideas
The versatility of DTF transfers opens up a world of possibilities. Here are some ways to use them:
- Apparel: Create custom t-shirts, hoodies, sports jerseys, and baby onesies.
- Accessories: Add designs to tote bags, caps, and backpacks.
- Home Textiles: Personalize pillows, towels, and tablecloths.
- Promotional Items: Print company logos on uniforms or event merchandise.
- Leather and Non-Fabric Goods: Try on leather patches, phone cases, or even wood surfaces with appropriate adhesives.
Choosing a DTF Transfer Provider
If you prefer not to invest in equipment initially, you can order DTF transfers from professional providers. Look for companies that offer high-quality prints, reliable shipping, and good customer service. Check reviews and samples to ensure they meet your standards. When you're ready to scale, consider purchasing your own system to increase profit margins.
Frequently Asked Questions
What fabrics are best for DTF transfers?
DTF transfers work well on a wide range of fabrics, especially cotton and polyester blends. They're also effective on pure polyester, nylon, and even some leathers. The key is to adjust press time and temperature according to the fabric's tolerance. Always test a small area first.
Can DTF transfers be used on dark-colored garments?
Yes, one of the major advantages of DTF is its ability to print white ink as a base, ensuring vibrant colors on dark fabrics. The white layer provides opacity, so your design pops just as it would on a light background.
How durable are DTF prints?
With proper application and care, DTF prints can last for many washes without fading or cracking. The adhesive layer bonds firmly with the fabric, and the print maintains flexibility. To extend the life, wash garments inside out in cold water and avoid using harsh detergents.
Do I need special equipment to apply DTF transfers?
At minimum, you'll need a heat press or a household iron. However, a heat press is recommended for consistent pressure and temperature, which ensures the best adhesion. You can start with a light-duty press for small projects.
How can I make my DTF transfers more vibrant?
Ensure you're using quality inks and proper curing temperatures. In addition, consider adding an extra layer of white ink for brighter colors on dark fabrics. Also, adjust your design's color profile to match your printer's capabilities for optimal results.
Final Thoughts
DTF transfers have revolutionized the custom printing industry, offering an accessible, efficient, and versatile method for creating stunning designs. Whether you're printing for profit or pleasure, mastering this technique can significantly expand your creative horizons. With the right equipment, a bit of practice, and these tips, you'll be producing professional-quality DTF transfers in no time. So why wait? Start experimenting with this exciting technology today and see how it can transform your projects.