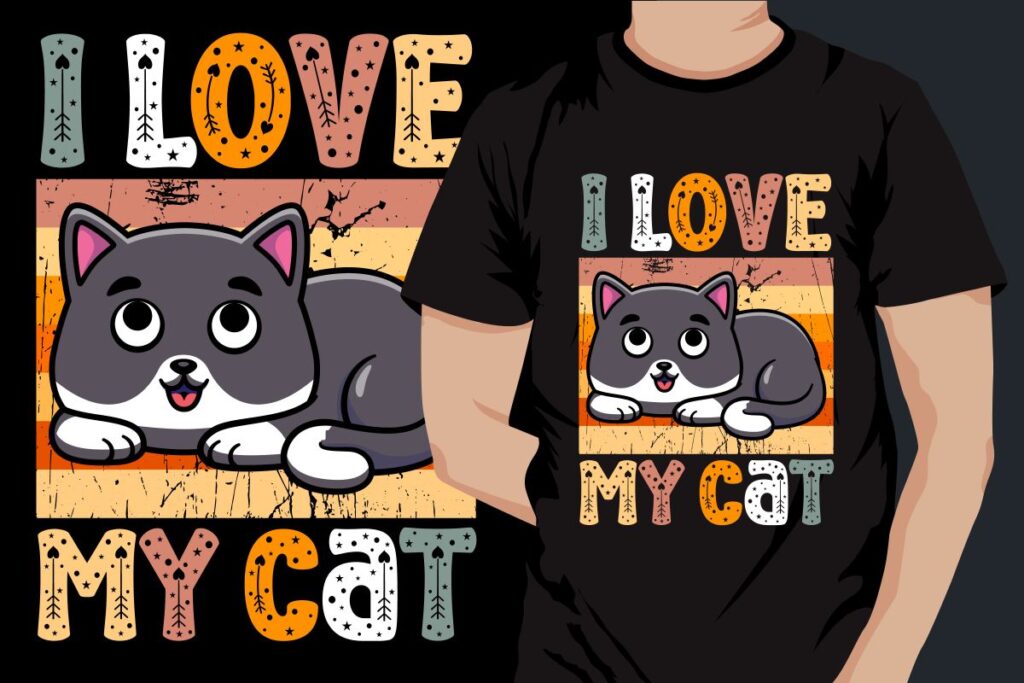
Are you a pet lover looking to showcase your furry friend in a unique way? Learning how to apply pet transfers to your t-shirts is a fantastic way to express your love for your pets while creating personalized apparel. This creative process not only allows you to wear your passion but also makes for a fun DIY project that can be enjoyed by all ages. In this guide, we will explore the various techniques and materials needed to successfully transfer your pet’s image onto fabric, ensuring that your t-shirt stands out in any crowd.
In the following sections, we will delve into the essential tools and materials required for applying pet transfers, including the types of transfer paper that work best for different fabrics. You will also learn about the step-by-step process to achieve a professional-looking finish, from preparing your design to the final application. Whether you’re creating a gift for a fellow pet enthusiast or simply want to treat yourself, this guide will equip you with all the knowledge you need to get started.
Additionally, we will share tips and tricks to troubleshoot common issues that may arise during the transfer process, ensuring that your project goes smoothly. By the end of this article, you will not only have the skills to create stunning pet-themed t-shirts but also the confidence to experiment with your designs. So, grab your supplies and get ready to unleash your creativity as we embark on this exciting journey of applying pet transfers to your t-shirts!
Understanding Pet Transfers
Pet transfers are a popular method for customizing T-shirts with unique designs, often featuring beloved pets. These transfers are typically made from a special type of vinyl or paper that can be printed on and then heat-pressed onto fabric. The appeal of pet transfers lies in their ability to create personalized apparel that showcases individual style and affection for pets.
When considering pet transfers, it’s essential to understand the different types available. Some common options include heat transfer vinyl (HTV), inkjet transfer paper, and sublimation transfers. Each type has its own application process and suitability for various fabrics, making it crucial to choose the right one for your T-shirt project.
Materials Needed for Pet Transfers
To successfully apply pet transfers to your T-shirts, you’ll need a few essential materials. First, you’ll require the transfer itself, which can be purchased online or created using a cutting machine. Additionally, a heat press or an iron is necessary for applying the transfer to the fabric. It’s also advisable to have a T-shirt made from a compatible material, such as cotton or polyester, to ensure the best results.
Other helpful materials include a cutting mat, weeding tools for removing excess vinyl, and parchment paper to protect your T-shirt during the heat application. Having these materials on hand will streamline the process and help you achieve a professional-looking finish.
Preparing Your Design
Before applying pet transfers, it’s crucial to prepare your design properly. This involves selecting a high-quality image of your pet and ensuring it is in the correct format for printing. If you’re using a cutting machine, you’ll need to create a vector file that can be easily manipulated and cut.
Once your design is ready, consider the size and placement on the T-shirt. Using design software, you can visualize how the transfer will look on the fabric. This step is vital for ensuring that the final product meets your expectations and that the design is centered and proportionate.
Application Process for Pet Transfers
The application process for pet transfers can vary depending on the type of transfer used. For heat transfer vinyl, the first step is to cut the design using a cutting machine. After weeding out the excess vinyl, place the design on the T-shirt and cover it with parchment paper. Using a heat press or iron, apply heat and pressure according to the manufacturer’s instructions.
For inkjet transfer paper, print your design onto the paper, then cut it out and place it on the T-shirt. Again, use a heat source to transfer the design. It’s important to follow the specific guidelines for temperature and time to ensure a successful transfer that adheres well to the fabric.
Post-Application Care
After applying pet transfers to your T-shirts, proper care is essential to maintain the quality of the design. It’s recommended to wait at least 24 hours before washing the T-shirt to allow the transfer to set properly. When washing, turn the shirt inside out and use cold water to prevent fading and peeling.
Additionally, avoid using bleach or harsh detergents, as these can damage the transfer. For drying, air drying is preferable, but if you must use a dryer, opt for a low heat setting. Following these care tips will help prolong the life of your custom T-shirt and keep your pet’s image looking vibrant.
Creative Ideas for Pet Transfers
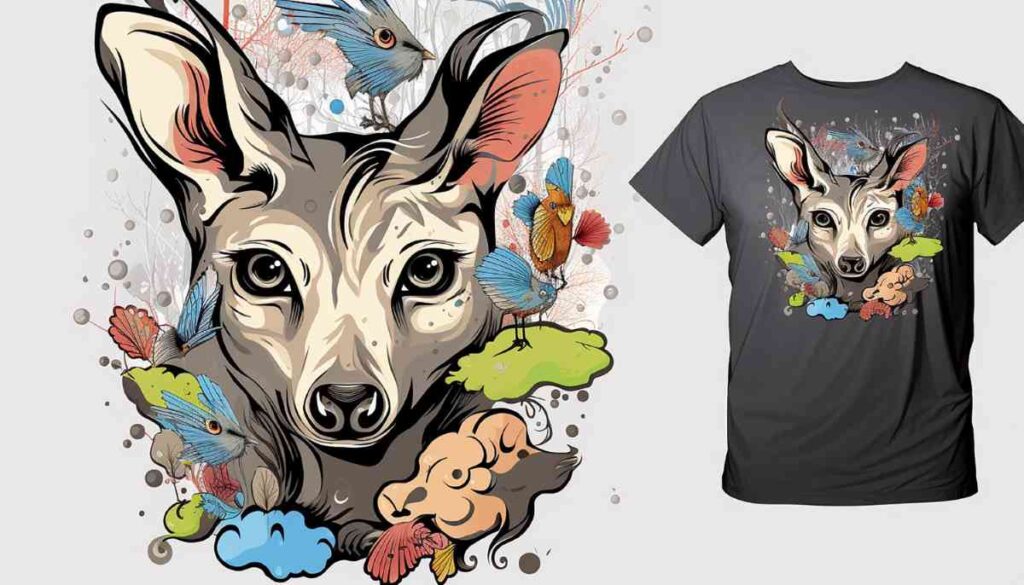
There are countless creative ways to use pet transfers on T-shirts. Consider making matching shirts for family members featuring their favorite pets or creating a series of shirts that showcase different pets in fun poses. You can also experiment with different colors and styles of T-shirts to complement your designs.
Another idea is to incorporate text along with the pet image, such as the pet’s name or a fun quote. This adds a personal touch and makes the T-shirt even more special. Don’t hesitate to explore various design elements, such as patterns or backgrounds, to make your pet transfer truly unique.
| Step | Description |
|---|---|
| 1. Gather Materials | Collect all necessary materials: T-shirt, pet transfer paper, iron, scissors, and a hard surface. |
| 2. Design Your Transfer | Create or choose a design featuring your pet. Ensure it fits well on the T-shirt. |
| 3. Print the Design | Print the design onto the pet transfer paper using an inkjet printer. Follow the paper’s instructions for best results. |
| 4. Cut the Design | Carefully cut around the design, leaving a small border if necessary, to avoid excess transfer material. |
| 5. Prepare the T-Shirt | Place the T-shirt on a flat, hard surface. Ensure it is clean and wrinkle-free. |
| 6. Position the Transfer | Place the cut transfer design face down on the T-shirt in the desired position. |
| 7. Apply Heat | Using a preheated iron (without steam), press down firmly on the transfer for the time specified in the transfer paper instructions. |
| 8. Cool and Peel | Allow the transfer to cool for a few moments, then carefully peel off the backing paper. |
| 9. Final Touches | Check the transfer for any lifting. If necessary, reapply heat to secure it better. |
| 10. Care Instructions | Wash the T-shirt inside out in cold water and avoid bleach to preserve the transfer. |